Using the Code Editor on Forms
The Code Editor on web forms allows you to perform automations on events like on form load and on form save. Using the Code Editor on forms eliminates the need to use the Custom Code integration task on form automations .
You can do specific automation on form load or save, on a specific field change or on a specific form tab change.
Use Cases
- Perform data validations and raise errors when the data validation fails. For example:
- When updating a client account check that it includes valid person ID, first name and last name.
- When creating a new account, check that there is no other account in external system with the same personal identification code.
- Do extensive calculations. E.g., perform forecast calculations.
- Based on the value of a field, another field lists the available values to choose from. For example, if Country is Romania, then the City field will only display all Cities in Romania.
- Transform data.
Prerequisite
- You should have medium to extensive JavaScript knowledge.
How to use the Code Editor
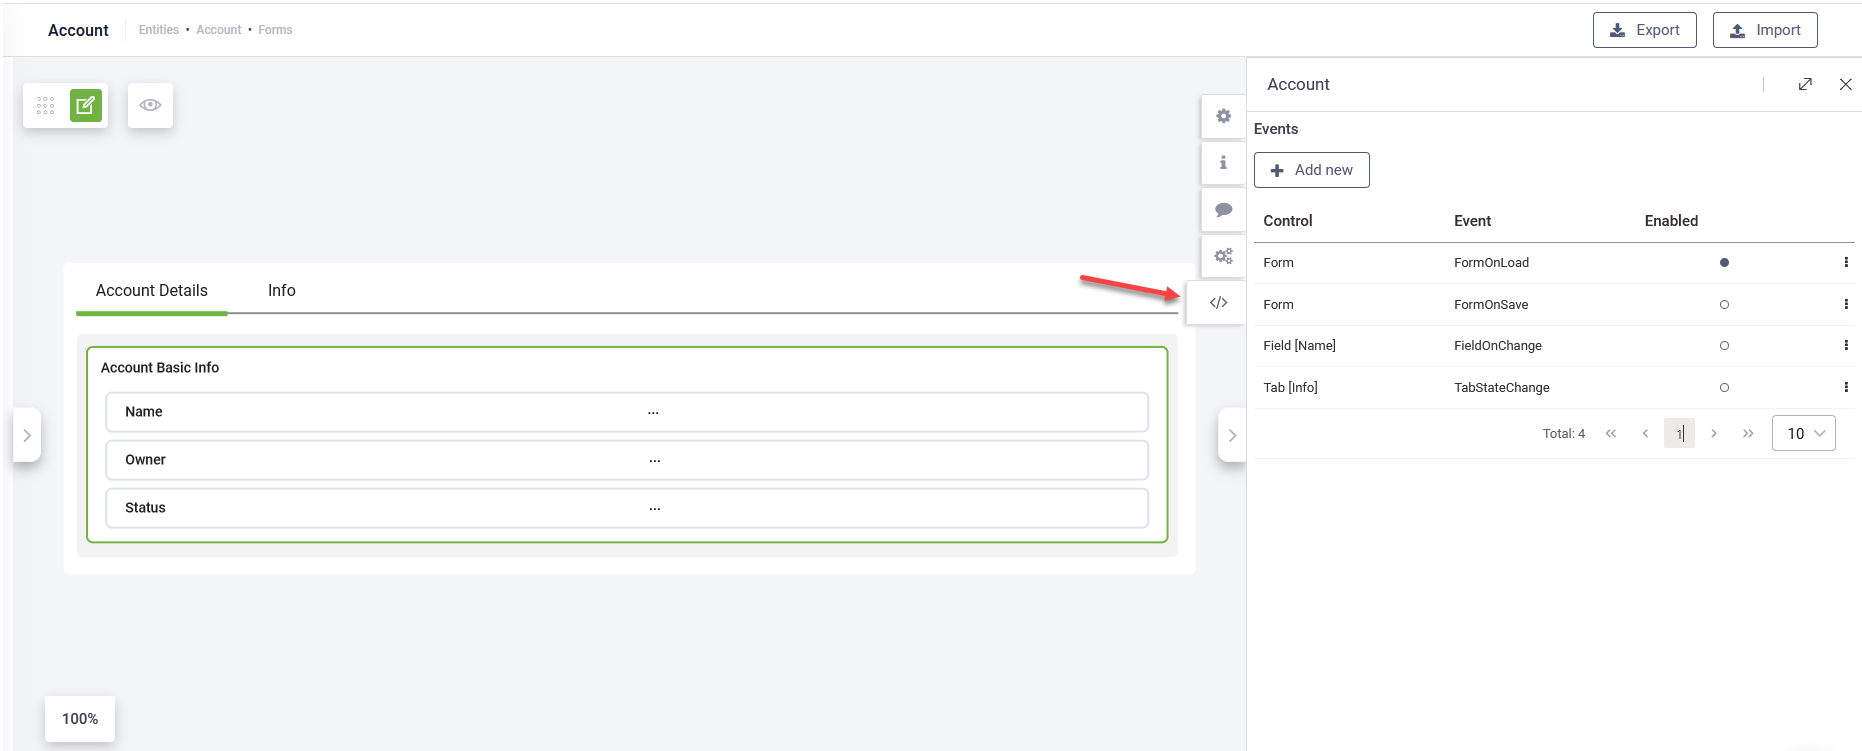
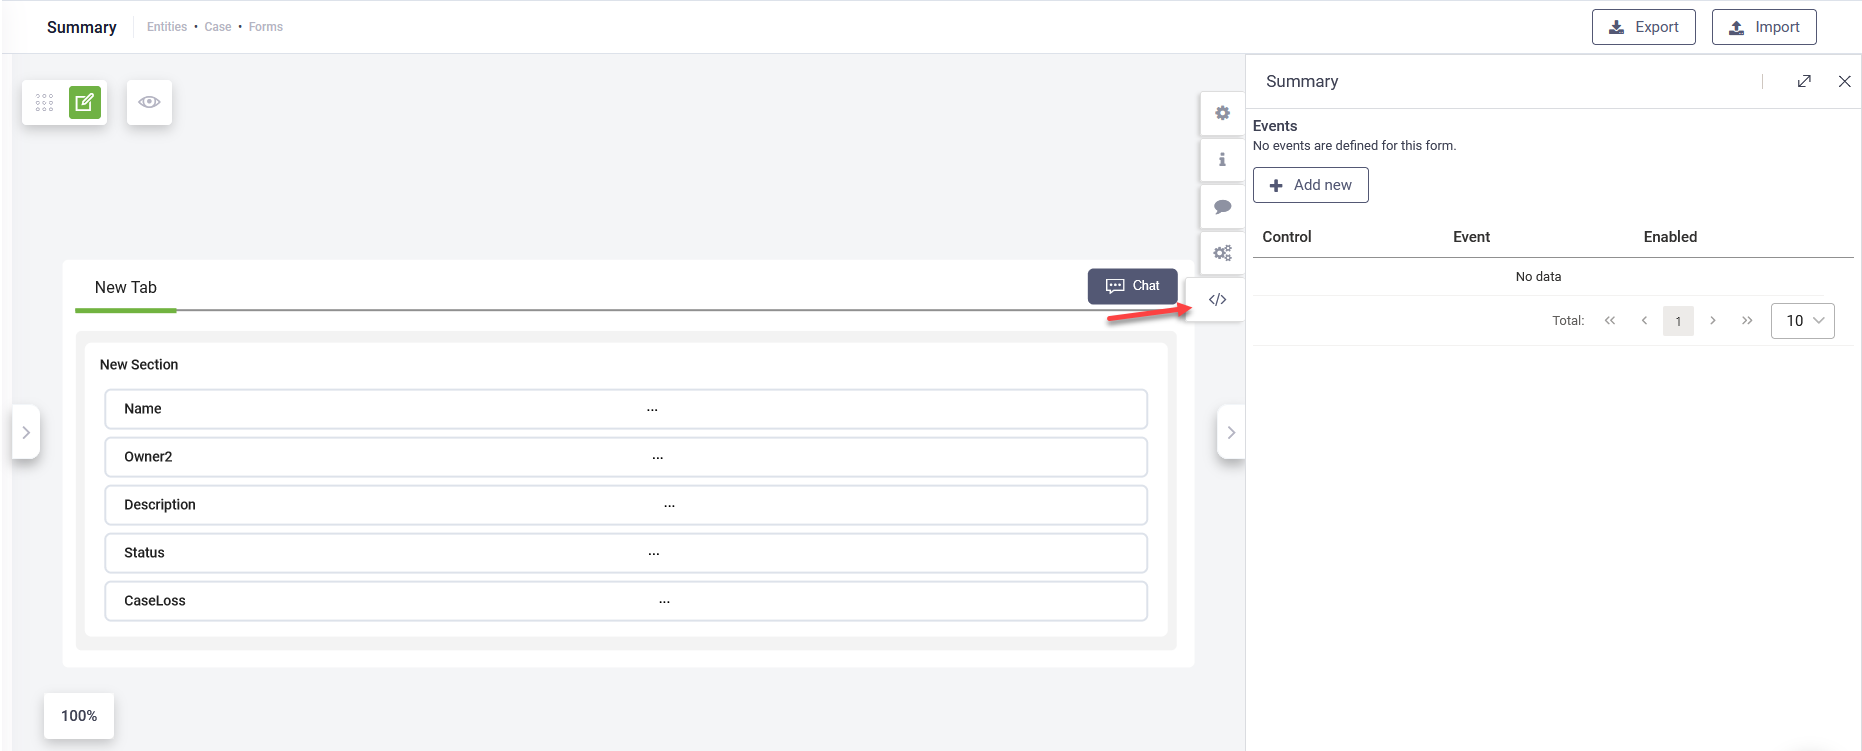
To define automations using the Code Editor, on the form toolbar, click the Code icon. The Events editor appears.
Click the Add new button at the top of the editor. The CreateEvent page appears.
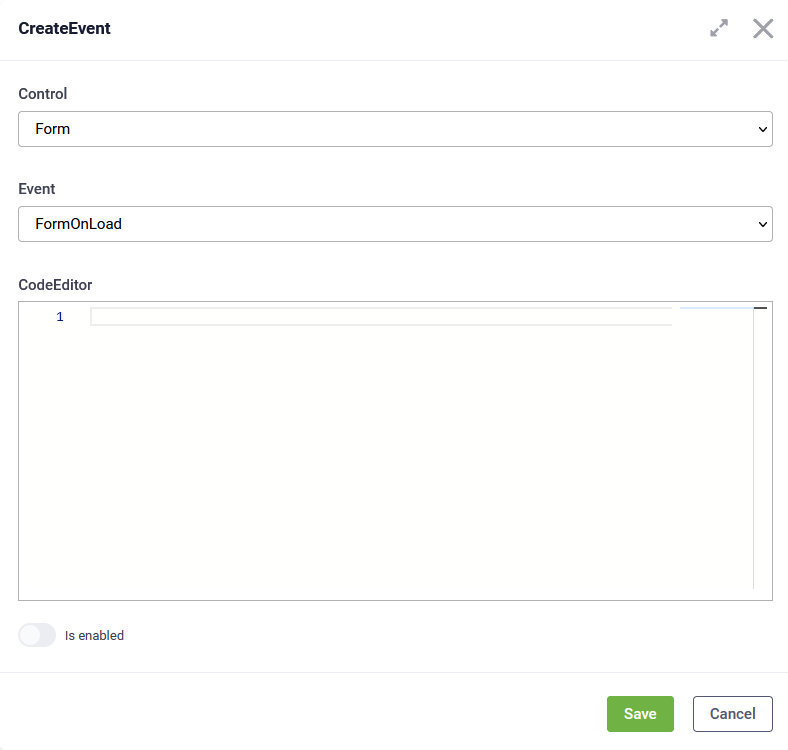
From the Control field, select the control on which the automation will be performed. Based on the selected control, specific information is required.
Run automation on form load or form save
To run an automation on the form, from the Control field, select Form and from the Event field select the desired event type:
- FormOnLoad - This event occurs after the form renders.
- FormOnSave - This event occurs before the form save request is triggered.
In the Code Editor field, write the JavaScript code that performs the desired automation on the form load/save.
//In order to use this function you need to have on parent entity, the field  Owner(field) of type entity(User)
function main(context) {
        const user = {
            "Name": context.user.name
        }
        context.tools.updateField('Owner', user)
        console.log(context)
}
Example - Example - FormOnSave event
function main(context) {
    // Set Status to : Active
    context.tools.updateField('Status', 'Active')
}
Tap on Is enabled to activate the automation.
Run automation on field change
You can change the value of a field when the value of another field changes or based on the value of a field, filter the available values of another field.
To run an automation on field change, from the Control field, select Field and from the Field field, select the name of the field that will trigger the FieldOnChange event and perform the automation. This event occurs when an input is blurred (exit edit mode).
In the Code Editor write the JavaScript code to perform the desired automation on another field.
Tap on Is enabled to activate the automation.
Example - FieldOnChange event
function main(context) {
    //Set Status, Name Changed
    context.tools.updateField('Status', 'Name Changed')
}
Run automation on tab switch
You can run an automation when a specific tab is activated, that is, on the TabStateChange event. E.g., if the user switches to a specific tab, raise an error.
To run an automation on the TabStateChange event, from the Control field, select Tab and from the Tab field, select the tab that will trigger the event.
In the Code Editor write the JavaScript code to perform the desired automation when the user switched to the specified tab.
Tap on Is enabled to activate the automation.
Example - TabStateChange event
function main(context) {
    console.log(context)
    // //if the user switches the tab, raise error
    // context.tools.alert('info', 'Tab switched', 'You have switched the tab')
}
Manage defined automations
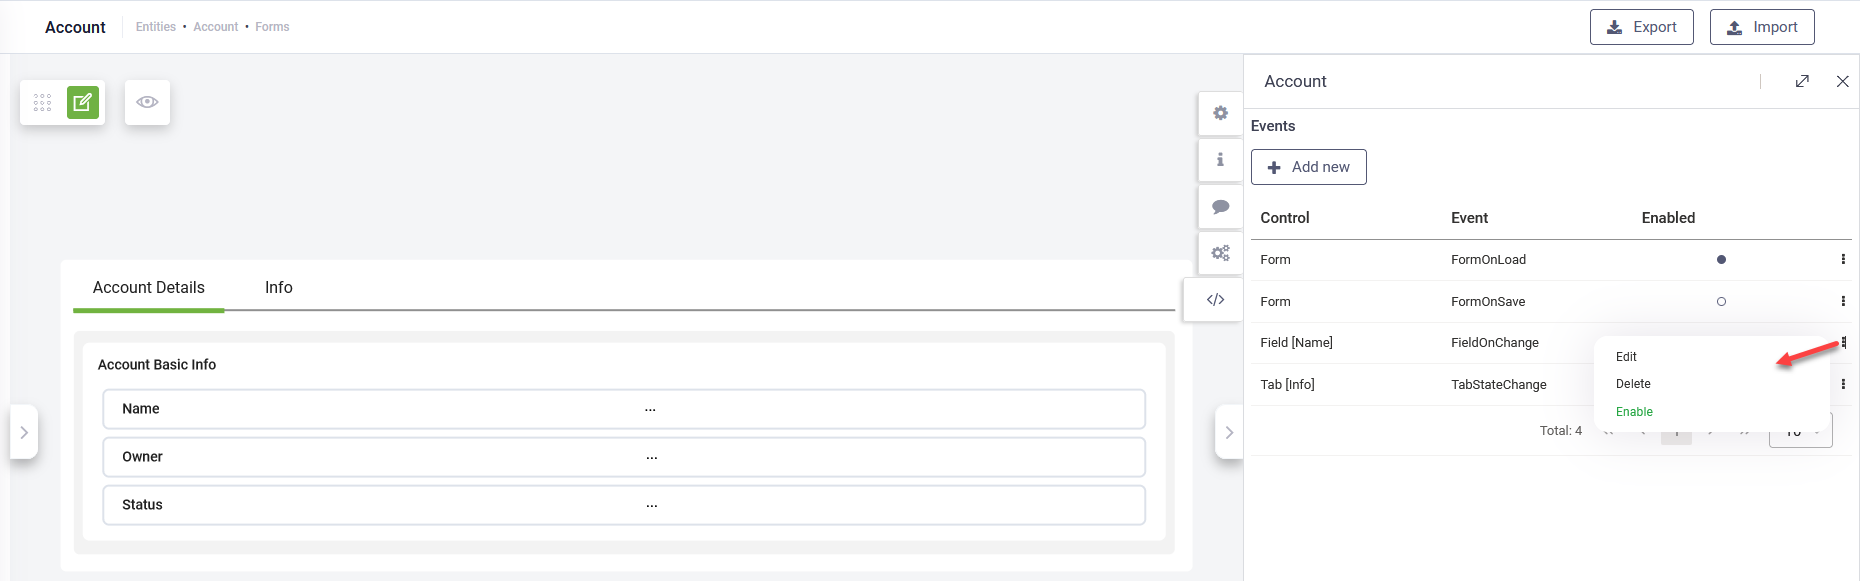
To edit, delete and enable/disable automations defined on a form, in the form Events page, click on the dots corresponding to the desired control/event and click on the action you want to perform.
Filter and update automations on forms
The list of automations defined for a form is automatically available within the Code Editor context. Authors can dynamically control automation visibility on forms and modify specific automation properties using the context.tools.updateAutomation(automation.id, updatedAutomation) method combined with standard JavaScript logic.
Use Cases
- Contextual Filtering: Display only relevant automations based on the current Form Tab.
- Conditional Visibility: Show or hide automations based on user role, permission level, or specific form field value entries.
- Dynamic Labeling: Update the automation Display Name in real-time based on user interaction.
- Visual Consistency: Apply uniform button color or styling to all automation buttons.
Code Example
The following script demonstrates how to manipulate the automation list shown on a form using standard JavaScript logic:
- Hiding an automation by setting
isHiddento true - Changing the display name for a specific locale
- Styling all automation buttons with a custom color
function main(context) {
    // 1. Hide a specific automation by index
    const secondAut = context.automations[1];
    secondAut.isHidden = true;
    context.tools.updateAutomation(secondAut.id, secondAut);

    // 2. Change the Display Name for a specific locale
    const fourthAut = context.automations[3];
    fourthAut.displayName['en-US'] = 'Welcome Flow';
    context.tools.updateAutomation(fourthAut.id, fourthAut);

    // 3. Apply a custom theme to all Button Automations
    context.automations.forEach(aut => {
        if (aut.isButton) {
            aut.buttonColor = '#FFA500'; // Orange
            context.tools.updateAutomation(aut.id, aut);
        }
    });
}
Use standard JavaScript conditional logic to filter automations based on your business requirements.